안녕하세요 초보개발자 시아아빠입니다.
오늘은 인트로 화면 띄우는 법에 대해서 알아보겠습니다.
인트로 화면이란 앱을 실행하였을 때 맨 처음 뜨는 화면.
즉, 앱의 로고라던지 앱의 특성을 나타낼 만 한 화면을 앱 로딩 중에 띄우는 화면입니다.
위와 같이 앱을 실행후 BlackForm이라는 인트로 화면으로 앱의 전체적인 느낌을 느낄 수 있습니다.
이와같은 화면을 만들어보겠습니다.
> Java Ver.
우선 인트로를 나타낼 Activity와 xml을 준비해줍니다.
- IntroActivity.java
- activity_intro.xml

java와 xml을 준비하셨으면 구현해보도록 하겠습니다.
준비물이 완료되셨으면 앱을 실행할때 가장 먼저 뜰 화면을 정해주는 부분이 있어요!
그것은 AndroidManifest.xml에서 설정을 해줍니다.
> AndroidManifest.xml 에 선언
내용설명이 필요하지 않은 분은 이 설명부분은 지나치면 됩니다.
자세한 설명을 하자면 activity level은 application level 안에 넣어주면 되는데
쉽게말해 <application>과 </application> 사이에 <acitivty></activity>가 들어가면 된다는 얘기입니다.
<activity
android:name="해당 패키지의 activitiy" => 즉, 내가 만들 intro의 작동을 담당할 acitivity의 루트
android:configChanges="환경이 변경되었을때" => 예를들어 가로화면에서 세로화면으로 바뀌었을때
android:screenOrientation="화면을 가로or세로로 고정&센서를 활성화 시킬지" => portrait(세로), landscape(가로)
>
<intent-filter>
</intent-filter>
<category android:name="LAUNCHER" /> => 여기서 런쳐로 표시되어 있는데요. 쉽게말해 카테고리에 Lancher로 선언한 부분의 activity가 루트 액티비티로 설정이 되어, 앱 아이콘을 누를시 가장 먼저 뜨게되는 activity임을 나타냅니다.
위와같이 AndroidManifest.xml에 설정을 해주어야 RuntimeException 등 manifest관련 에러가 나지 않습니다.
Manifest에 이렇게 설정을 해주었다면 category에 LAUNCHER로 선언해준 해당 activity.
즉, 여기서는 IntroActivity를 앱 아이콘 클릭 시 가장 먼저 호출됩니다.
> IntroActivity.java
다음은 acitivity로 넘어가면 다음과 같이 기본 구문이 override 되어있습니다.
AppCompatActivity를 extends합니다. 이와같이 할 경우 support 라이브러리 어쩌고 저쩌고
쉽게말해 옛버전 라이브러리의 호환이 가능합니다. 그냥 그렇게만 알면됩니다. ㅎㅎ
IntroActivity가 띄워지면서 onCreate가 가장 먼저 실행됩니다.
setContentView에 띄우고 싶은 Layout을 넣습니다. 여기서는 activity_intro.xml 입니다.
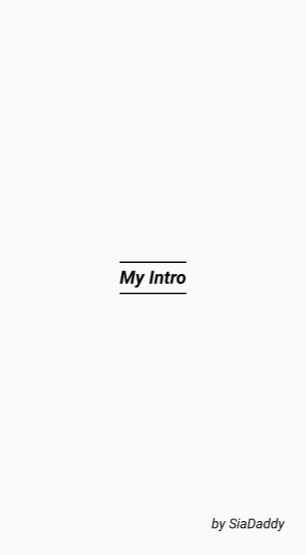
> activity_intro.xml
너무 밋밋하네요 ㅎㅎ 좀 꾸며보겠습니다.
> 수정 후 activity_intro
<?xml version="1.0" encoding="utf-8"?>
<androidx.constraintlayout.widget.ConstraintLayout xmlns:android="http://schemas.android.com/apk/res/android"
    xmlns:app="http://schemas.android.com/apk/res-auto"
    xmlns:tools="http://schemas.android.com/tools"
    android:layout_width="match_parent"
    android:layout_height="match_parent"
    tools:context=".IntroActivity">

    <TextView
        android:id="@+id/txtIntro"
        android:layout_width="wrap_content"
        android:layout_height="wrap_content"
        android:text="My Intro"
        android:textSize="24sp"
        android:textColor="@android:color/black"
        android:textStyle="italic | bold"
        app:layout_constraintStart_toStartOf="parent"
        app:layout_constraintEnd_toEndOf="parent"
        app:layout_constraintTop_toTopOf="parent"
        app:layout_constraintBottom_toBottomOf="parent"/>

    <View
        android:id="@+id/line_top"
        android:layout_width="0dp"
        android:layout_height="2dp"
        android:layout_marginBottom="2dp"
        android:background="@android:color/black"
        app:layout_constraintStart_toStartOf="@+id/txtIntro"
        app:layout_constraintEnd_toEndOf="@+id/txtIntro"
        app:layout_constraintBottom_toTopOf="@+id/txtIntro"/>

    <View
        android:id="@+id/line_bottom"
        android:layout_width="0dp"
        android:layout_height="2dp"
        android:layout_marginTop="5dp"
        android:background="@android:color/black"
        app:layout_constraintStart_toStartOf="@+id/txtIntro"
        app:layout_constraintEnd_toEndOf="@+id/txtIntro"
        app:layout_constraintTop_toBottomOf="@+id/txtIntro"/>

    <TextView
        android:id="@+id/txtMade"
        android:layout_width="wrap_content"
        android:layout_height="wrap_content"
        android:layout_marginBottom="30dp"
        android:text="by SiaDaddy"
        android:textSize="18sp"
        android:textColor="@android:color/black"
        android:textStyle="italic"
        app:layout_constraintStart_toEndOf="@+id/txtIntro"
        app:layout_constraintEnd_toEndOf="parent"
        app:layout_constraintBottom_toBottomOf="parent"/>

</androidx.constraintlayout.widget.ConstraintLayout>
>> 심플하게 수정해보았습니다. (design)
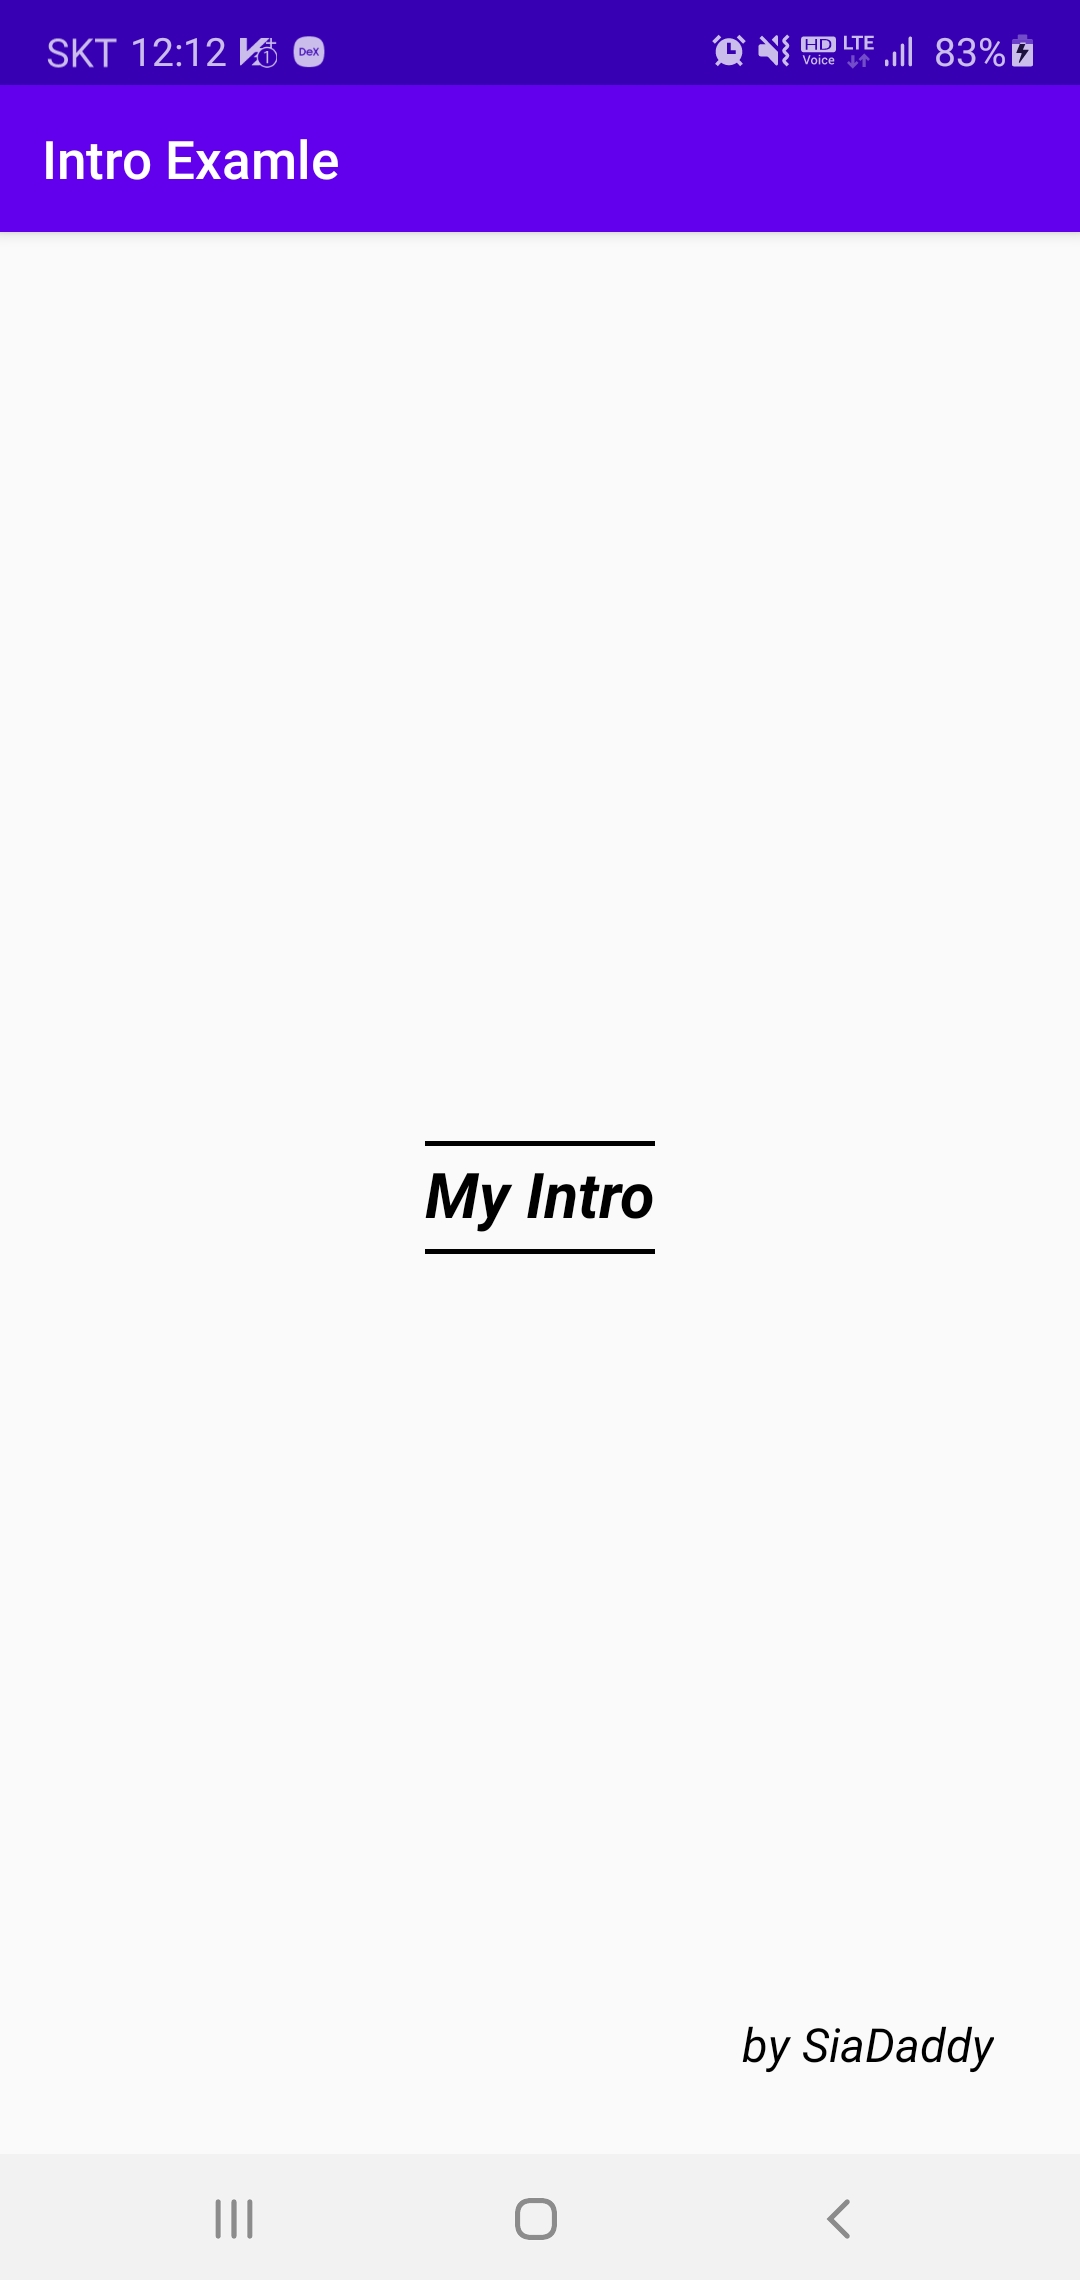
여기서 IntroExample이라고 떠있는 부분이 타이틀바입니다.
저 부분이 없었으면 하는 분들이 많으실 것 같아 이 또한 알려드리겠습니다. ㅎ
res 파일의 하위를 보면 values가 있습니다. 거기서 styles.xml을 열어줍니다.
> res > values > styles.xml
위와같이 빨간 박스 안에 2개의 아이템 태그를 추가해줍니다.
> 2줄 추가한 후의 화면입니다.
> 인트로 화면의 경우 제일 상단에 존재하는 상태바가 중요한 비중을 차지하지는 않기때문에저는 좀 더 깔끔한 인상을 주기 위하여 상태바 또한 제거해보겠습니다.
시간이나 데이터, 배터리 상태를 유지하고 싶다 하시면 상태바 색상을 변경하셔도 되는데요!
상태바 색상 변경은 방법1 또는 방법2를 참조 해주세요!
- 상태바 제거하는 법은 다음과 같습니다.> IntroActivity.java
빨간색 박스 부분을 추가해주시면 됩니다.
ps. 상태바의 색상만을 변경했을 경우 (방법1) 참조
다음 챕터에서는 인트로화면에서 로그인 화면으로 이어지는 방법을 알아보겠습니다~^^*
완료 영상↓
도움이 되셨다면 하트 꾸욱 눌러주세요~!
궁금하신 점은 댓글로 질문해주시면 빠른 답변 노력하겠습니다~!
'Android > Chapter' 카테고리의 다른 글
| [Android] 앱 만들기 Chapter2. 로그인 화면 (0) | 2020.09.02 |
|---|---|
| [Android] Chapter2. Intent Filter(인텐트 필터) (0) | 2019.10.07 |
| [Android] Chapter1. Intent의 정의 및 사용법 (0) | 2019.10.07 |


댓글